Before you buy your dream home, it’s important to get a full home inspection chimney. Home inspection chimney can uncover potentially life-threatening problems like toxic mold, faulty wiring that could cause a significant fire, or unstable structures just months away from collapsing. Often as buyers, we expect a professional home inspection chimney service to cover all aspects of the property, but the chimney needs a separate qualified evaluation for many safety reasons.
The health and safety of your family could depend on your decision to go through with a chimney inspection. Here’s some important information you need to know about why home inspection chimney are crucial when it comes to purchasing new homes.
What a home inspection chimney could uncover:
Potential Water Damage
Did you know that the foundation of a chimney is typically only 12 inches deep? That means that with earth movement from summer to winter, water damage from sprinklers, downspouts, and weather conditions could render your chimney foundation dangerous.
Neglected Spaces
Most inspections are carried out for the purpose of the loan lender or negotiations, and they may not always serve the buyer. Make sure that your home inspection includes often-forgotten spaces like the crawl space, basement, attics, chimney, fireplace, and loft area. A smart buyer can even use details from the full home inspection to negotiate with the seller.
Shifting from New Construction
Has the space around the chimney been newly landscaped, subject to digging, or under construction? Have there been significant earthquakes since the last chimney inspection? Shifting of the earth underneath or around the chimney could cause instability, which is why it’s important to make sure the inspection includes outdoor areas surrounding the chimney.
Instability from Cold Weather
With the drought and hotter weather, the hard soil can stabilize a chimney to some degree, but only temporarily. As cold weather moves in, dampness and moisture soften the soil around the base of the chimney, allowing movement in the structure which could render the chimney unstable. Even if the house is on a concrete slab and the chimney is surrounded by concrete, the concrete still absorbs the moisture and the chimney can still move. If your area experiences high winds, wet weather, and earthquakes, instability can be particularly dangerous.
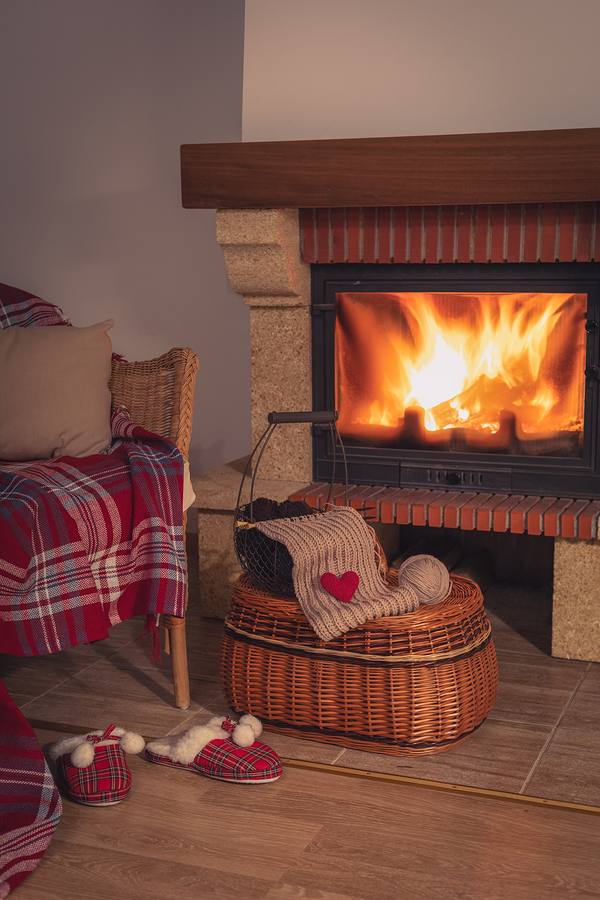
Fireplace Inserts: Extra Credit
Once your fireplace and chimney have been thoroughly inspected and cleaned, you may be looking for ways to enjoy the ambience of a crackling fire. A fireplace insert is a fuel-efficient, heat-efficient method of doing just that. The closed combustion system of a fireplace insert can be 60% to 80% heat efficient, contrasting with traditional or older fireplaces that only convert 5% to 20% of fuel into usable heat. You can enjoy watching the flames through the glass doors of the fireplace insert while needing less firewood to keep them stoked.
Schedule a Home Inspection Chimney Now
Our services at The Irish Sweep can help you safely maintain and enjoy your wood-burning fireplace and chimney for years to come. To schedule an appointment with an expert, call us at (510)521-4088, or use this simple contact form by clicking here.