When you light a fire, you want to feel cozy, not nervous. Your chimney has a lot going on out of sight, and that hidden space is exactly where problems like to sneak in. That is why many homeowners lean on Bay Area chimney safety experts to keep things safe, efficient, and ready for the next cool night. With the right team on your side, your fireplace becomes something you look forward to again, instead of something you quietly worry about.
Why Bay Area Chimney Safety Experts Matter
The Bay Area has its own mix of weather, older homes, and quirky architecture, and chimneys go right along for the ride. Frequent fog, salt in the air, and seasonal rain can wear down masonry, metal, and seals faster than people expect. Bay Area chimney safety experts look at how all of that affects the inside and outside of your system, not only at a single crack or patch of soot.
We see patterns that a quick glance misses. Maybe a tiny gap in the flashing is letting water creep in behind the bricks, or the cap is sitting a bit crooked after a stormy season. A careful inspection with a safety mindset connects these details and prevents them from turning into bigger headaches. If you want to know more about what we actually do on site, our full list of chimney services walks through the range of inspections, repairs, and performance upgrades we handle every week.
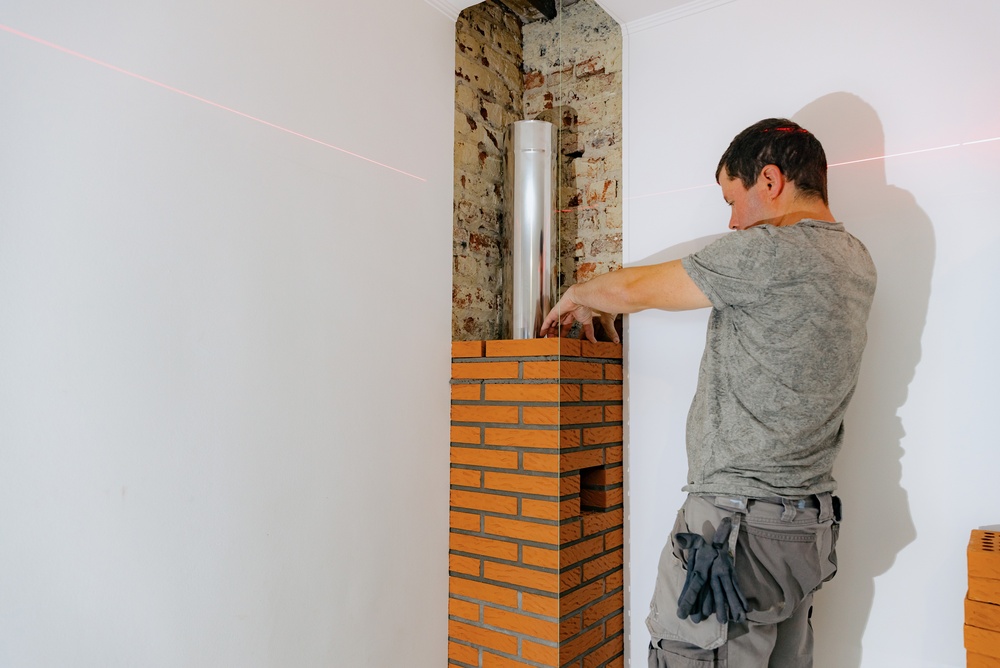
What A Safety Focused Inspection Looks Like
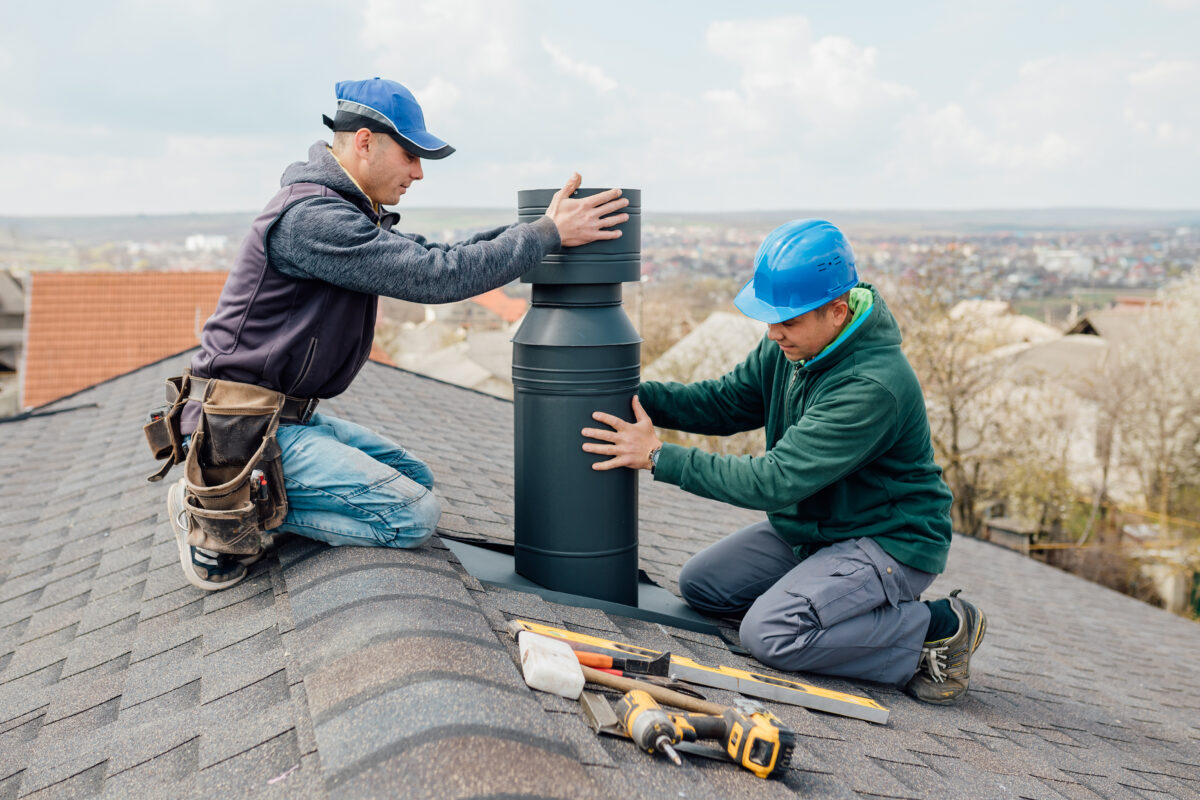
When we arrive at a home, we are not there to rush through a checklist and sprint to the next stop. We start with the big picture: the height and stability of the chimney, how it ties into the roofline, and whether the exterior shows any sagging, leaning, or visible cracking. From there, we move closer and look at mortar joints, bricks, caps, crowns, and metal components for signs of wear, movement, or corrosion.
Inside, we pay close attention to the firebox, damper, and flue. We are looking for gaps, spalling, glaze, and anything that suggests heat or moisture has been picking on your system in the wrong way. When Bay Area chimney safety experts talk about “safety,” we are talking about reducing fire risk, improving venting, and protecting the structure of the home itself. A good inspection leaves you knowing what is working, what is aging, and what deserves attention before the next season.
Common Problems We See In Bay Area Chimneys
If chimneys could talk, a lot of them would sound tired. We see a handful of issues again and again, especially in this region. One recurring trouble spot is water intrusion. Small cracks in crowns or missing mortar joints let moisture run inside, and over time that water eats away at bricks, liners, and surrounding framing.
We also run into damaged or missing caps. A healthy cap keeps rain, animals, and leaves out of the flue, and once it fails, the whole system becomes more vulnerable. On top of that, older systems may have liners that have cracked from years of temperature swings. Bay Area chimney safety experts know how to spot these problems early and explain them in plain language so you understand what is happening inside your own home.
How We Help Homeowners Feel Confident
Owning a home in this area can feel like juggling plates, and the chimney is one plate that often gets ignored until something goes wrong. We want to change that story. When we step into a home, we take time to explain what we are seeing in a way that does not feel technical for no reason. You should be able to look at your fireplace and feel confident about using it, not puzzled by jargon.
We have spent years refining our process to keep it thorough and straightforward at the same time. As Bay Area chimney safety experts, we know our reputation rests on trust, not slick talk. If you would like to see who we are and how we got started, our about us page shares our history, training, and the values that guide how we work in every home.
Why Professional Safety Expertise Beats Guesswork
You can look up a quick checklist online and shine a flashlight into the firebox, and that is better than ignoring the chimney completely. Still, there is a big gap between a quick look and a full safety evaluation. Problems often hide inside joints, behind soot, or in parts of the system you simply cannot see from the living room.
That is where Bay Area chimney safety experts come in. We have specialized tools, training, and old fashioned experience that help us catch problems that might not show up in a casual inspection. For example, we might notice subtle staining on exterior bricks that points to a slow leak, or a slightly warped damper that suggests heat has been escaping in the wrong direction. Professional eyes connect these dots in a way that protects your home in the long run.
When You Should Call For A Safety Check
A lot of homeowners ask us how often they should have someone look at their chimney. We generally recommend a yearly safety inspection, especially if you use your fireplace during the colder months. It is easier to address wear and tear little by little instead of waiting for a big repair to crash onto your to‑do list.
You should also reach out any time something feels off. Maybe you smell smoke in rooms where you never smelled it before, or you notice small pieces of brick or tile in the firebox. Bay Area chimney safety experts pay attention to those little clues. When in doubt, it is better to ask a question and get reassurance than to cross your fingers and hope for the best. If you want a more detailed breakdown of the ways we protect your system and your home, our best chimney services page walks through the options in practical terms.
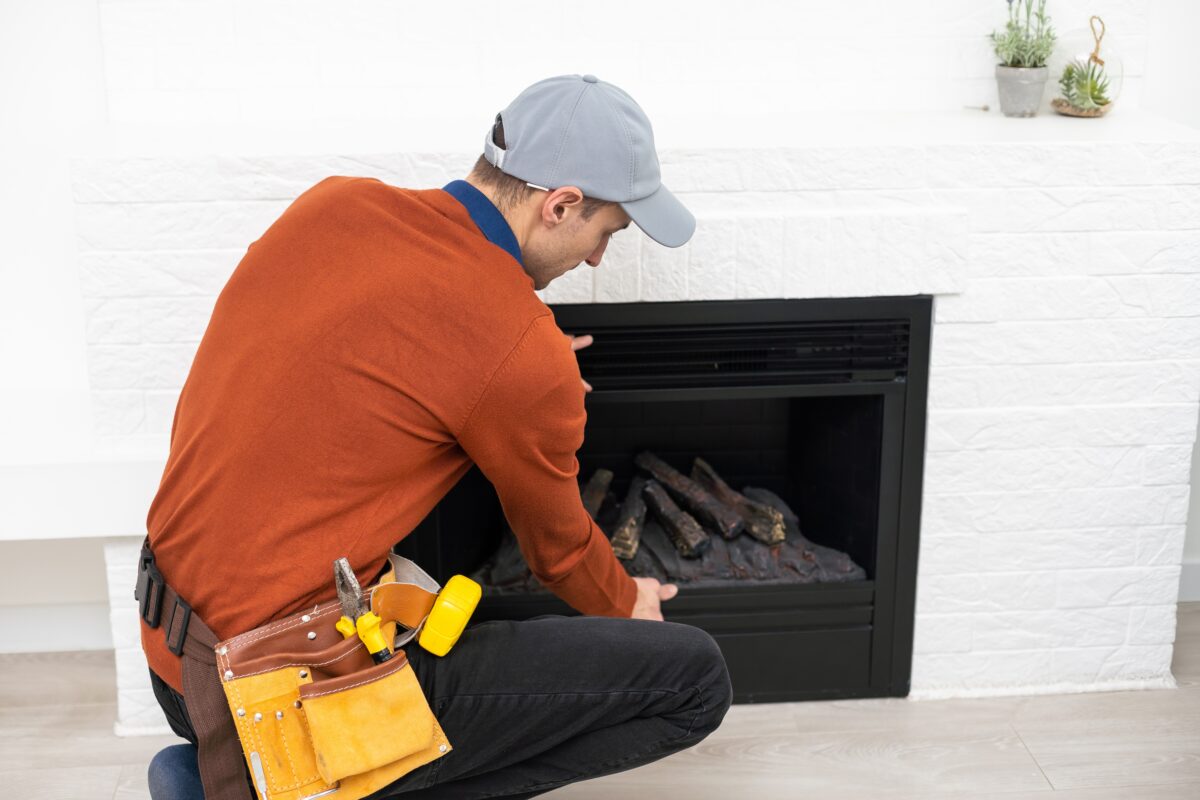
What To Expect During A Visit
We know inviting someone into your home is personal, so we treat that trust with care. When we show up, we explain what we plan to look at and how long it should take, then we get to work without wasting your time. You will see us move between the interior fireplace area and the roof, since a full safety picture needs both views.
After the inspection, we sit down and walk through what we saw. We do not push every optional service, we simply explain what is urgent, what is smart to plan for, and what looks healthy. Bay Area chimney safety experts should leave you feeling informed, not pressured. If follow‑up work makes sense, we can explain the steps and help you decide what fits your priorities and your budget.
Simple Habits That Support Chimney Safety
You do not need a long list of rules to support your chimney. A handful of steady habits goes a long way. Pay attention to the way your fire behaves. If you start noticing more smoke than usual in the room, or if the fire struggles to stay lit, that is worth mentioning the next time you call us.
Keep an eye on the area around the fireplace too. New stains on walls or ceilings near the chimney, little bits of debris where they did not show up before, or a new draft where the damper used to seal well, all of those are clues. Bay Area chimney safety experts can use that information to track down small problems before they grow. And if you are curious what other homeowners have experienced, our testimonials page shares honest stories from people who invited us into their homes and saw the difference.
FAQs About Bay Area Chimney Safety Experts
How Often Should I Schedule A Chimney Safety Inspection?
Most homeowners are well served by a yearly safety inspection. Regular checks let us spot early signs of wear and deal with them before they affect your comfort or your wallet.
What Makes Bay Area Chimney Safety Experts Different?
Local experience plays a big role. Bay Area chimney safety experts understand how our specific climate, older housing stock, and coastal conditions affect chimneys, so we know what to look for and how to address it effectively.
What Are Signs My Chimney Might Not Be Safe?
Common warning signs include smoke spilling into the room, strong odors around the fireplace, visible cracks in masonry, loose bricks, staining on nearby walls, or hearing animals around the flue. Any of these is a good reason to call us.
Do I Need A Safety Expert If I Rarely Use My Fireplace?
Even a rarely used fireplace should be safe and structurally sound. Weather, time, and small leaks can still affect the chimney, so an expert inspection helps confirm everything is in good shape before you ever light a match.
Will You Explain Problems In Plain Language?
Yes, that is a big part of our job. We walk you through what we find with simple explanations and clear photos when needed, so you know exactly what is happening and why we recommend certain repairs or follow‑up work.
Can You Help With Repairs After An Inspection?
We can. After a safety inspection, we can outline repair options, from small fixes to more involved work. As Bay Area chimney safety experts, we handle both the evaluation and the hands‑on solutions, so you are not left hunting for someone new.
Your Chimney’s New Best Friend
If your fireplace has been nagging at the back of your mind, that is your sign to act. As Bay Area chimney safety experts, we are ready to check things over, explain what we see, and help you feel comfortable using your hearth again. Reach out to The Irish Sweep through our contact page or call 510-521-4088 to get your next safety inspection on the calendar.