The Irish Sweep is still accepting calls to answer questions and schedule any service needs. However, no on-site visits are currently being conducted pursuant to the government's stay in place order. Please feel free to contact us at 510.521.4088 to get answers to your questions or schedule a future appointment.

Cracked Mortar Joints? Why Chimney Repointing Shouldn’t Wait

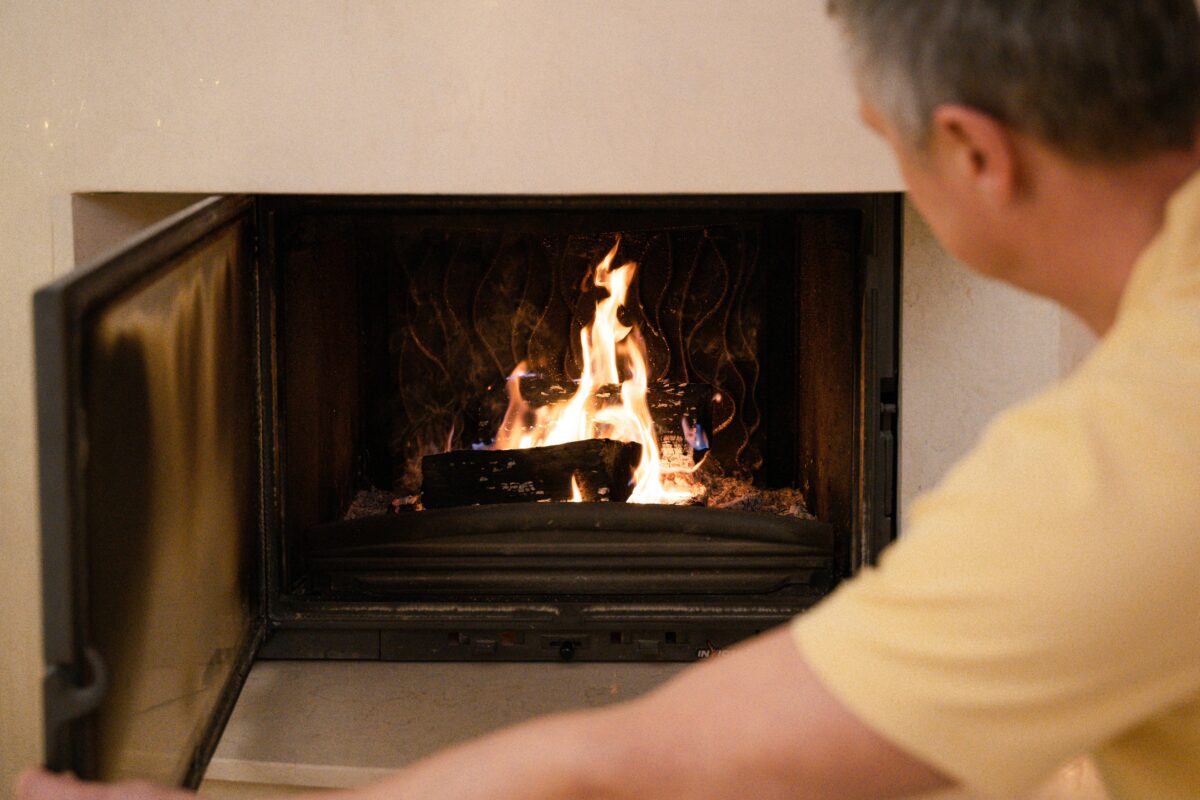
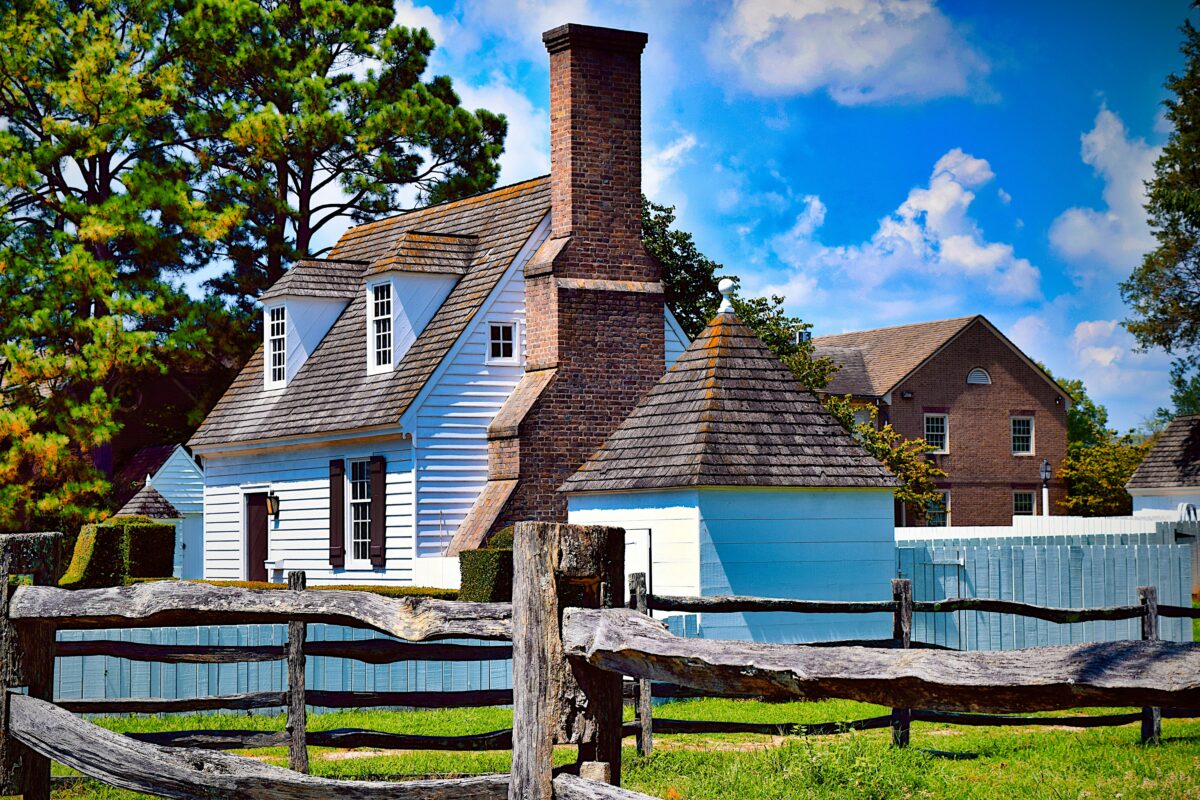
At first glance, a few cracks between the bricks of your chimney might not seem like a big deal. But those small gaps in the mortar can quickly turn into major structural problems which could lead to water leaks, crumbling brickwork, and costly repairs if left unaddressed.

That’s where chimney repointing comes in.

Repointing is the process of replacing damaged or deteriorating mortar joints to restore your chimney’s strength and stability. It’s one of the most effective ways to extend the life of your chimney and protect your home from moisture, structural issues, and even fire risks. But there’s more to chimney repointing that we’ll explain in this post. Including, what chimney repointing involves, how to recognize when your mortar joints are failing, and why delaying repairs can lead to far bigger headaches down the road. 


What Is Chimney Repointing?

Chimney repointing is the process of removing old, damaged, or deteriorated mortar from the joints between your chimney bricks and replacing it with fresh, structurally sound mortar. Over time, mortar wears down due to exposure to weather, moisture, and temperature fluctuations. Especially in older Bay Area homes where chimneys may have gone decades without maintenance.

While the bricks themselves often remain strong, the mortar is designed to be softer so it can absorb movement and environmental stress. Unfortunately, that also makes it the first part of your chimney to break down. When the mortar fails, the structural integrity of your chimney is compromised and that’s when repointing becomes essential.

Repointing doesn’t just improve the look of your chimney; it reinforces the entire structure, prevents water from seeping in, and helps your chimney function as it should. It’s a precision process that must be done correctly using the right type of mortar to match the original material.


How to Spot Mortar Joint Deterioration

Catching mortar problems early is the key to avoiding major repairs, but not all damage is immediately obvious. Fortunately, there are several warning signs you can look for that suggest chimney repointing may be needed.

Common signs of deteriorating mortar joints include:

  • Cracks or Gaps Between Bricks: Visible separation between the bricks, even small hairline cracks, may indicate the mortar is failing. 
  • Loose or Missing Mortar: If you can flake or crumble mortar with your fingers, it’s breaking down and needs attention. 
  • Mortar Dust or Debris: Small piles of sandy debris around the base of your chimney are a sign that mortar is eroding. 
  • Leaning or Shifting Bricks: Misaligned or bulging bricks may mean the underlying mortar has lost its structural grip. 
  • Water Stains Inside the Home: Moisture seepage near the chimney on ceilings or walls could be coming through compromised mortar joints. 
  • Vegetation or Moss Growth: Plant life growing in the mortar is a red flag—moisture has penetrated the structure. 

If you see any of these signs, or if your chimney hasn’t been inspected in several years, it’s time to schedule a professional chimney evaluation. A trained expert can assess the condition of your mortar and recommend repointing before further damage occurs.


The Chimney Repointing Process (What to Expect)

Knowing how chimney repointing works can help homeowners feel more confident about moving forward with repairs. When done by a qualified professional, repointing is a precise and effective process that restores both the strength and appearance of your chimney.

Here’s a Step-by-Step Overview of the Process:

  1. Inspection and Assessment
    First, we will thoroughly inspect your chimney to identify damaged mortar, assess the extent of deterioration, and determine if repointing is the best solution. 
  2. Removal of Damaged Mortar
    Using specialized tools, our technician carefully removes the deteriorated mortar from between the bricks, typically to a uniform depth of about ¾ inch, without damaging the surrounding masonry. 
  3. Mixing and Matching New Mortar
    The replacement mortar is blended to match the original in both composition and color as closely as possible. This ensures the repair is structurally sound and visually consistent with the rest of the chimney. 
  4. Application of New Mortar
    The fresh mortar is tightly packed into the joints, restoring the bond between bricks and sealing out moisture. Precision is key here to ensure a watertight, long-lasting result. 
  5. Finishing and Clean-Up
    Once cured, the repointed joints are cleaned and shaped for a uniform appearance. The work area is cleared of all debris, leaving your chimney looking and functioning like new. 

How Long Does It Take?

Most standard repointing jobs are completed in one to two days, depending on the size and condition of the chimney. Minimal disruption to your home is expected, especially when handled by an experienced team.

Chimney repointing is a cost-effective way to protect your home from water intrusion, preserve your chimney’s structural integrity, and improve its visual appeal, all without the need for full reconstruction.


Don’t Wait on Chimney Repointing; Protect Your Home Today

The bottom line is that cracked mortar joints are more than just a cosmetic issue; they’re a sign that your chimney’s structural integrity may be at risk. Delaying chimney repointing can lead to serious problems, from water damage and brick failure to costly chimney rebuilds. The good news? When caught early, repointing is a highly effective and affordable way to extend the life of your chimney and maintain the safety of your fireplace system.

At The Irish Sweep, we specialize in identifying and repairing mortar joint damage with care, precision, and expert craftsmanship. Whether you’ve noticed visible cracks or it’s just been a while since your last chimney inspection, now is the time to act.

Contact us today at 510-521-4088 or email us to schedule a chimney evaluation or repointing consultation. Your chimney deserves professional attention before small problems become major repairs.

What to Know Before Scheduling Your Wood Insert Installation

As Bay Area homeowners look for cleaner, more reliable ways to heat their homes, wood-burning fireplace inserts are seeing a major comeback. In fact, during the last winter season alone, we installed more inserts than we had in the previous five to seven years combined. With growing concerns over the long-term cost and reliability of gas appliances, more people are recognizing wood as a renewable, dependable, and highly efficient heat source.

But before you run out to purchase a wood insert, it’s important to understand what’s involved in the installation process. As well as, how it differs from other heating options like free-standing wood stoves. At The Irish Sweep, we specialize in wood insert installation, (not to be confused with wood stove installation) and we want to make sure you’re fully informed before you make your next move. Let’s talk about everything you need to know to prepare for a successful, code-compliant, and clean-burning wood insert installation.

What Is a Wood-Burning Fireplace Insert?

A wood-burning fireplace insert is a specially engineered appliance designed to fit inside an existing masonry fireplace. Unlike open fireplaces, which lose a large portion of heat up the chimney, wood inserts are enclosed systems that burn wood more efficiently, produce significantly more heat, and reduce emissions. Many modern models are EPA-certified and designed to meet today’s clean-air standards, making them a smarter and more environmentally conscious choice.

It’s important to note that a wood insert is not the same as a free-standing wood stove, both of which are gaining in popularity. While both burn wood for heat, inserts are built to slide into an existing firebox and vent through the existing chimney with a stainless steel liner. Free-standing stoves, on the other hand, are separate structures that sit on hearth pads and typically vent through a new or dedicated flue system. If your goal is to transform your inefficient open fireplace into a powerful heat source, a wood-burning insert is a great solution.


What to Do Before You Buy Your Insert

Before you visit a hearth store or make any purchase decisions, there are a few important steps to take to ensure your wood insert installation goes smoothly. While The Irish Sweep does not sell wood-burning inserts or installation materials, we play a key role in helping you select the right product for your home.

1. Schedule a Firebox Measurement with The Irish Sweep

The first step is to have us visit your home and measure your existing firebox. During this appointment, we’ll gather the dimensions needed for proper insert sizing and assess the condition of the firebox and chimney to identify any masonry modifications that may be required later. We will also sweep the chimney if needed. 

2. Take Measurements and a Fireplace Photo to a Hearth Dealer

Once you have the firebox measurements, take them, along with a clear photo of your fireplace (not the chimney), to a local hearth retailer. These stores specialize in selling wood-burning inserts and will help match you with an appliance that meets both your heating needs and the physical dimensions of your fireplace.

3. Purchase the Insert and Materials from the Dealer

You’ll purchase the wood insert and any required venting or installation materials directly from the hearth dealer. Most retailers will bundle the appliance with the appropriate stainless steel liner and components needed for a safe installation.

By taking these steps before scheduling your installation, you’ll avoid common sizing issues and ensure a smoother, more efficient process when installation day arrives.


What to Expect During Installation

Once you’ve selected and purchased your wood-burning insert and all necessary materials from a hearth dealer, The Irish Sweep will handle the rest, making the installation process as smooth and stress-free as possible.

Scheduling and Delivery

We’ll book a dedicated installation day on our calendar and coordinate the pickup and delivery of your new insert and installation materials. Everything will be brought directly to your home, so you don’t need to worry about transportation or logistics.

Chimney Preparation and Modifications

Before the insert can be installed, we may perform a chimney cleaning if needed to ensure a safe and proper fit. If masonry adjustments are required, such as resizing the firebox opening or creating space for the liner, we’ll complete those modifications during the visit.

Assembly and Installation

Our team will assemble the appliance on-site and install all the venting components, including the stainless steel liner that’s required for wood insert operation. Because this liner runs through your existing chimney, it ensures proper draft and safe venting for the high-efficiency burn of your new appliance.

Clean-Up and Handoff

Once installation is complete, we remove all debris from the job site and leave your home as clean as we found it. We’ll also provide the homeowner’s section of the installation manual and make sure you understand the next steps for operating your new insert safely.

From start to finish, we aim to provide expert-level craftsmanship, clear communication, and a safe, code-compliant installation you can rely on for years to come.


Understanding the Role of the Metal Flue

One of the most important components of a proper wood insert installation is the metal flue liner. Unlike open fireplaces that vent smoke and gases through a clay-lined masonry chimney, wood-burning inserts must be connected to a stainless steel flue liner that runs from the appliance up through the chimney to the top. This liner is essential for safety, performance, and compliance with modern building codes.

Why the Metal Liner Matters

Wood inserts are sealed systems that rely on precise drafting to operate efficiently. The stainless steel liner ensures that combustion gases are vented properly and that creosote buildup is minimized. It also protects the interior of your chimney from heat damage and corrosive byproducts.

What About Ceramic Coating?

Ceramic coatings are sometimes used to repair damaged clay flue liners and mortar joints. However, when installing a wood insert, ceramic coating is not needed. That’s because the new stainless steel liner bypasses the existing clay liner entirely. The only scenario where ceramic coating might be considered is if the chimney structure is severely deteriorated, something we’ll evaluate during your inspection.

With the metal liner included as part of the insert system, you can feel confident that your installation will meet safety standards and perform reliably for years to come.

Ready to Install Your Wood Insert? Let’s Get Started

Wood-burning fireplace inserts offer an energy-efficient, environmentally friendly way to heat your home. Especially as more homeowners move away from gas. While the appliances themselves are highly engineered and may carry a higher price tag, their performance, heat output, and clean-burning design make them a worthwhile investment.

At The Irish Sweep, we bring decades of hands-on experience to every installation, ensuring your insert is installed safely, efficiently, and in full compliance with modern codes. From initial measurements to final clean-up, our team handles the details so you can enjoy the warmth and comfort of your new heating system without the hassle.

Ready to schedule your firebox measurement or ask questions about the process?
Call us at 510‑521‑4088 or email [email protected] to get started. Don’t wait until the cold weather hits, book your wood insert installation today and be ready for winter!

How Often Should a Chimney Be Cleaned?

As the chilly months approach, many homeowners eagerly anticipate cozy evenings by the fire. However, before we light those first fires of the season, it’s essential to ensure our chimneys are in top condition. Regular chimney maintenance is not just about keeping things clean—it’s a critical step in safeguarding our homes from potential hazards like chimney fires and poor indoor air quality.

But how often should a chimney be cleaned? The answer depends on several factors, including how often you use your fireplace and the type of wood you burn. A general rule of thumb is to clean a chimney after every 75 fires or once for every cord of wood burned. Neglecting this important task can lead to dangerous creosote buildup, which is not only a fire risk but can also reduce the efficiency of your fireplace.

To help you stay ahead of the winter rush, The Irish Sweep is offering a limited-time summer special on chimney cleaning services. But act fast—this special ends on September 30th, and after that, our winter pricing will take effect.

Read on to learn more about why regular chimney cleaning is essential and how you can save by scheduling your service today.

How Often Should a Chimney Be Cleaned? Understanding Frequency

As a general rule, we recommend having a chimney cleaned after every 75 fires or for every cord of wood burned. This frequency helps prevent the buildup of creosote, a highly flammable substance that can accumulate inside a chimney and pose a serious fire hazard.

However, this rule of thumb can vary depending on several factors. The type of wood burned in a fireplace plays a significant role—hardwoods like oak and maple tend to produce less creosote compared to softer woods like pine.

Additionally, the frequency of fireplace use also affects how often a chimney should be cleaned. If you regularly enjoy fires throughout the colder months, you may need more frequent cleanings to keep your chimney in optimal condition.

Monitoring Creosote Buildup for Safe Chimney Use

We’ve already defined creosote, a byproduct of burning wood, which accumulates inside your chimney over time. It comes in three stages, each more dangerous than the last. Understanding these stages can help us recognize when our chimneys need cleaning and prevent the risks associated with creosote buildup.

Stage 1: Light and Flaky

In the initial stage, creosote appears as a light, flaky substance that can be easily brushed away. This stage is the least dangerous but still requires attention. Regular chimney cleaning at this point is relatively easy and effective, ensuring that the buildup doesn’t progress to more severe stages. If caught early, Stage 1 creosote is easy to manage and poses minimal risk.

Stage 2: Sticky and Tar-Like

If not addressed, Stage 1 creosote can transform into a sticky, tar-like substance. At this stage, it becomes more difficult to remove and more dangerous. The sticky texture can begin to trap more soot and debris, further restricting airflow in your chimney. This stage significantly increases the risk of a chimney fire because it’s more flammable and challenging to clean. Professional intervention is often needed to effectively remove Stage 2 creosote.

Stage 3: Hardened and Glazed

Stage 3 creosote is the most dangerous form. It becomes hardened and glazed, forming a thick, shiny coating on the inside of the chimney. This stage is extremely difficult to remove and highly flammable. It can ignite at relatively low temperatures, leading to intense chimney fires that are difficult to extinguish. If a chimney has reached this stage of creosote buildup, immediate professional cleaning is critical to prevent a potential disaster.

Early detection and regular cleaning can prevent creosote from reaching the more hazardous stages, keeping your home safe from chimney fires.

Seasoning Firewood to Reduce Creosote Buildup

The moisture content of the wood burned in a fireplace plays a significant role in the amount of creosote that accumulates in the chimney. Burning wet or unseasoned wood can lead to rapid creosote buildup, increasing the risk of chimney fires and reducing the efficiency of the fireplace. Properly seasoning and storing firewood is key to minimizing these risks.

Why Moisture Content Matters

Freshly cut wood, often referred to as “green wood,” contains a high level of moisture. Burning this wet wood results in cooler fires that produce more smoke, which condenses inside the chimney as creosote. The higher the moisture content in the wood, the more creosote is generated, leading to faster buildup and a greater need for frequent chimney cleaning.

In contrast, seasoned wood—wood that has been dried over time—has a lower moisture content, typically below 20%. This dry wood burns hotter and more efficiently, producing less smoke and, consequently, less creosote. Using properly seasoned wood is one of the most effective ways to maintain a cleaner, safer chimney.

Best Practices for Seasoning and Storing Firewood

  1. Splitting the Wood: Begin by splitting the wood into smaller pieces to increase the surface area exposed to air, which helps the wood dry out more quickly.
  2. Proper Stacking: Stack firewood in a manner that promotes good air circulation. Place the wood on a raised platform or pallet to keep it off the ground, preventing moisture from seeping in. Stack the wood loosely in single rows, allowing enough space between the logs for air to flow through.
  3. Covering the Wood: While it’s important to protect firewood from rain, avoid covering it completely with a tarp, which can trap moisture. Instead, cover the top of the stack with a tarp or wood cover, leaving the sides exposed to the air. This approach helps the wood continue drying while staying protected from the elements.
  4. Allowing Time to Season: For most types of wood, seasoning can take anywhere from six months to a year. Hardwoods, such as oak, may require even longer. Ensuring that the wood has ample time to dry before burning is crucial for reducing creosote buildup.
  5. Testing Moisture Content: Using a moisture meter to test the wood before burning is recommended. Ideally, the moisture content should be below 20% to ensure the wood burns cleanly and efficiently.

Following these best practices for seasoning and storing firewood can significantly reduce the amount of creosote that accumulates in chimneys. This not only enhances chimney safety by lowering the risk of chimney fires but also improves the efficiency of the fireplace, resulting in better heat output with less fuel.

Signs A Chimney Needs Cleaning

Even if you’re not counting fires or cords of wood, there are some clear signs that indicate a chimney is due for a cleaning:

  • Visible Soot Buildup or Creosote Deposits: A thick layer of soot or sticky creosote inside a chimney or on the damper indicates it’s time for a cleaning. These substances not only reduce the efficiency of a fireplace but also increase the risk of a chimney fire. As the Federal Emergency Management Agency (FEMA) puts it, “Clean chimneys don’t catch fire.”
  • Smoke Issues or Reduced Draft: Struggling with smoke filling your room or a weak draft that doesn’t pull smoke up the chimney? This could be a sign that your chimney is blocked or restricted by soot and creosote, making it harder for your fireplace to function properly.
  • Unpleasant Odors from the Fireplace: A strong, acrid smell coming from your fireplace, especially during warm, humid days, is often a sign of creosote buildup. This odor is not only unpleasant but also a warning that your chimney needs attention.

By staying vigilant for these signs and adhering to the recommended cleaning schedule, you can ensure your fireplace remains a safe and efficient source of warmth and comfort.

The Consequences of Neglecting Chimney Cleaning

1. It’s a Fire Hazard

One of the most serious risks of neglecting chimney cleaning is the potential for chimney fires. Creosote, a byproduct of burning wood, gradually builds up inside of a chimney as it is used. This sticky, highly flammable substance can ignite. If the chimney is not regularly cleaned, chimney fires become a huge risk.

Failure to clean chimneys is the leading cause of chimney fires, accounting for a significant percentage of home heating fires each year. Regular chimney maintenance is essential to preventing these potentially devastating incidents.

2. It Poses Risks to Our Health 

A dirty chimney doesn’t just pose a fire hazard—it can also impact the air quality in our homes. When a chimney is clogged with soot and creosote, it can hinder the proper ventilation of smoke and harmful gases, like carbon monoxide, out of our homes.

This can lead to poor indoor air quality, which may cause respiratory issues and other health problems for our families. Ensuring our chimneys are clean helps maintain healthy living environments.

3. It Makes Our Chimneys Less Efficient

Beyond safety and health concerns, a clean chimney is also crucial for the efficient operation of your fireplace. When creosote and soot accumulate, they can obstruct the airflow, reducing the draft needed for a proper fire.

This not only makes it harder to start and maintain a fire but also means our fireplaces will burn less efficiently, wasting fuel and providing less heat. By keeping your chimney clean, we ensure better airflow and more effective heating, saving us time, money, and effort.

Related Reading: How Often Should You Have Your Chimney Inspected?

Special Offer Alert – Take Advantage of Our Summer Pricing!

Don’t miss out on our exclusive summer special! Until September 30th, The Irish Sweep is offering chimney sweeping services for just $265, plus a $37 sanitation fee. This special pricing gives you a $60 savings compared to our winter rates. It’s the perfect opportunity to ensure your chimney is clean and ready for the colder months ahead—without breaking the bank.

Time is running out! After September 30th, our winter pricing will automatically take effect, with no exceptions. The winter rate is $325 per chimney, plus the $37 sanitation fee.

As temperatures drop, the demand for chimney services skyrockets, making it harder to secure an appointment that fits your schedule. By taking care of your chimney cleaning during the summer, you’ll beat the crowd, take advantage of our low-cost summer special, and ensure your fireplace is ready to use the moment you need it.

How to Schedule Your Chimney Cleaning

Scheduling your chimney cleaning with The Irish Sweep is quick and simple. Follow these easy steps to book your service today:

  1. Fill Out Our Online Contact Form: Visit our website and complete the contact form with your details. It’s a convenient way to request an appointment at any time.
  2. Call Us Directly: Prefer to speak with someone? Give us a call at 510.521.4088. Our friendly staff is ready to assist you with booking your chimney cleaning and answering any questions you might have.
  3. Email Us: You can also reach out via email at [email protected]. Just send us a message with your preferred date and time, and we’ll get back to you as soon as we can to confirm your appointment.

Whether you choose to book online, by phone, or via email, we’re here to make the process as smooth as possible. Schedule your chimney cleaning today and take advantage of our summer special before it ends!

Secure Your Home’s Safety and Savings Today

Regular chimney cleaning is essential for preventing fire hazards, maintaining indoor air quality, and ensuring efficient heating. By scheduling your service now, you can take advantage of our summer special and save $60 before winter pricing takes effect.

Don’t wait—schedule your chimney cleaning before September 30th to secure the discounted rate!

© Copyrights 2026 The Irish Sweep All Rights Reserved.